
7 disassembly and reassembly tips for a smoother move
Moving goes faster and with less hassle when you plan how items will come apart and go back together. These seven numbered tips give clear, practical steps for homeowners, renters and small businesses in the GTA. Each tip includes safety checks, organisation systems, item mini-checklists, surface protection advice, and guidance on when to hire professional help.
Key Takeaways
- Use the right tools and safety checks to prevent injuries and damage during disassembly.
- Organize screws and fittings with labeled bags and photos to streamline reassembly.
- Follow item-specific mini-checklists for efficient packing and handling of common furniture.
- Protect surfaces and fragile parts to avoid damage during the move.
- Assess whether to DIY or hire professionals based on item weight and complexity.
1. Use the right tools and run safety checks before you start
Good tools reduce stripped screws, broken fittings and the risk of injury. Build a basic disassembly kit: a set of Phillips and flat screwdrivers, a magnetic bit set for a cordless drill, a 1/4 and 3/8 inch socket set, an adjustable wrench, snap-ring pliers for specialty fasteners, a pry bar, moving straps and a utility knife. Include PPE such as work gloves and safety glasses.
Before you begin, run a short safety checklist. Unplug electronics and allow them to cool. Switch off water valves and disconnect hoses before handling appliances. Stabilise tall furniture so it cannot tip, and clear a workspace large enough to lay out panels. If an item is heavy or mechanically complex, use two people or a mechanical aid to lift it.
When in doubt, use the right tool rather than improvising with household items. Higher quality tools improve precision and make reassembly easier. For heavy or industrial equipment follow formal procedures and PPE guidance, as noted in professional disassembly resources.
2. Keep screws and fittings organised with labelled bags and photos
Small parts are easy to lose and can stall reassembly. Use this repeatable system:
- Group screws and fittings from each step into small zip bags.
- Write the furniture name and step number on each bag and tape the bag to the related panel or place it in a labelled hardware box.
- Take two photos per stage: a wide shot showing panel orientation and a close up of the fastener or connector. Add a short note with part numbers or step hints.
Consider extras like pill organisers or magnetic parts trays for tiny screws, or index cards taped to large panels. Attach the hardware bag to the piece it belongs to, rather than storing all bags together, to avoid mismatches. This photo plus bag method is used by professionals and makes reassembly much quicker and less error prone.
3. Follow item-specific mini-checklists for common move items
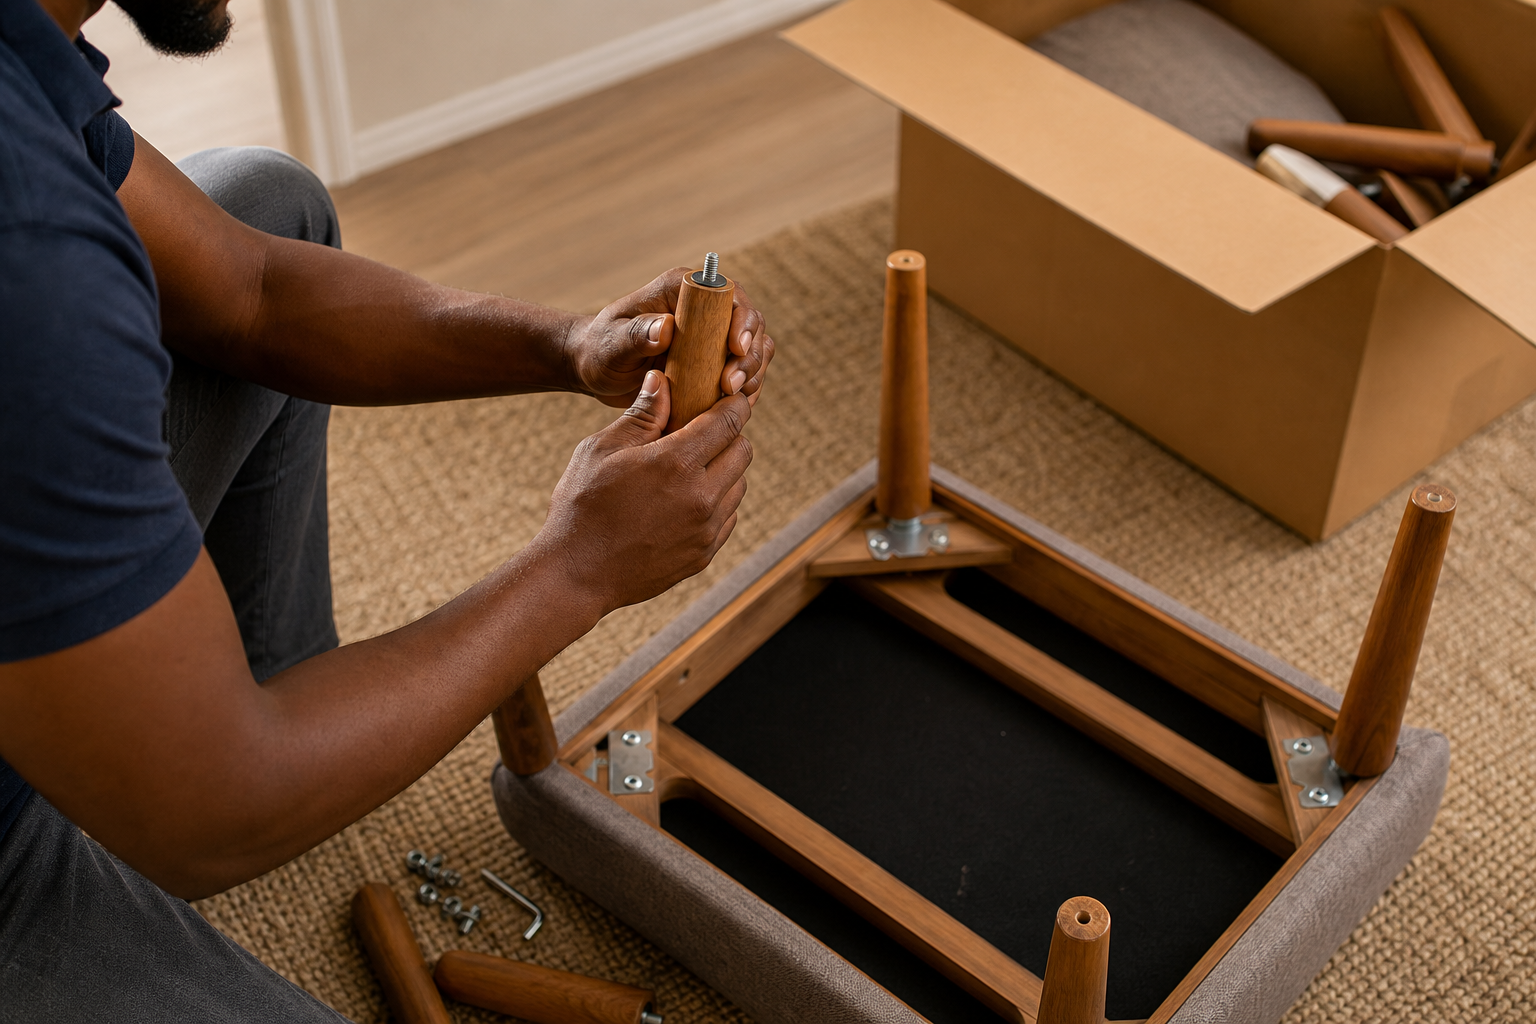
Tailor your approach to the item. Use these concise checklists when planning disassembly and packing:
Bed frames and mattresses
- Remove mattress and bedding, label slats and side rails, and bag bolts and washers together. Tape the bag to the slat.
- Wrap the mattress in a protective cover or mattress bag. Use straps for transporting it upright if vehicle space is tight.
Wardrobes and flat-pack furniture
- Empty drawers and shelves, remove hanging rails, and unscrew panels in reverse order of assembly. Label panels A, B, C and note their position in your photos.
- Secure trim, edging and detachable feet in labelled bags and keep the assembly manual if you have it.
Appliances and kitchen units
- Disconnect power and water supplies, allow cooling time for ovens and fridges, and secure doors with tape or straps during transit.
- Turn off valves and disconnect hoses for washing machines and dishwashers. Bring replacement gaskets if you plan to reconnect them later.
Office desks, shelving and electronics
- Remove drawers and electronic components, bag fasteners per drawer, and lift panels with two people to protect edges.
- For computers and AV racks, power down, remove batteries, label cables and photograph cable routing before unplugging.
Follow device-specific guidance for sensitive items. For desktop disassembly and rebuild steps, let manufacturers or specialist guides inform battery removal and thermal cooldown times.
4. Protect finished surfaces and fragile parts for the trip
Prevent scuffs, dents and water damage with basic protection. Use moving blankets or quilted pads to wrap faces and corners, secure edges with corner protectors, and use mattress covers for springs and fabric. Lock or secure doors and drawers with packing tape or straps so they do not open in transit.
For veneers and painted surfaces place thin foam or felt between stacked pieces to stop abrasion. Wrap glass shelves and mirrors in bubble wrap and place them upright if possible. Use plastic stretch wrap to keep doors closed and to protect finishes from dust and moisture during long trips.
Blanket wrapping and edge protection are standard practices for full service movers, and they dramatically reduce cosmetic damage during loading and unloading.
5. Label the reassembly order and keep a dedicated staging area

Create a reassembly plan that mirrors your disassembly photos and hardware bags. Number panels and steps on both the photos and the hardware bags. For example, mark a side panel as “Wardrobe A step 2” and the matching bag as “WA-2” to keep the sequence obvious.
At the destination set up a staging area where you can lay out panels by item and step without blocking hallways. Group hardware and parts by step so you can work through the sequence without searching. Dry-fit panels before you fully tighten fasteners so you can adjust alignment easily. Keep your documentation and photos within arm’s reach of the staging area for quick reference.
Testing fit before final torquing saves time and prevents the need to undo tightened screws when something does not match.
6. Handle electronics and appliances with extra care
Electronics and appliances need extra attention. Power down and unplug all devices, remove batteries from cordless equipment, and label each cable before unplugging. Allow appliances that heat or cool to reach room temperature before moving to reduce internal stress on components.
Photograph cable layouts and port locations for receivers, modems and A V systems. Use cable ties and small labels for each connector so reconnection is foolproof. Record serial numbers and model information for warranty or parts replacement needs later.
If equipment is part of a critical system or is highly sensitive, plan for certified technicians to handle reconnection and testing. This avoids voiding warranties or causing damage to delicate electronics.
7. Use a quick DIY versus pro decision guide and note GTA moving rules
Decide whether to DIY or hire movers with five quick criteria:
- Weight and size: if an item is heavier than you can safely lift with helpers, hire pros.
- Complexity: items with intricate assembly or disassembly may require professional help.
- Time: If you’re short on time, hiring movers can save you valuable hours.
- Distance: Long-distance moves often benefit from the expertise of professional movers.
- Value: If the item is valuable or fragile, consider hiring professionals to ensure safe transport.
Sources & References
- American Moving and Storage Association – Industry statistics on moving trends.
- Better Business Bureau – Resources on choosing reputable moving companies.
- Consumer Reports – Tips for moving and packing efficiently.